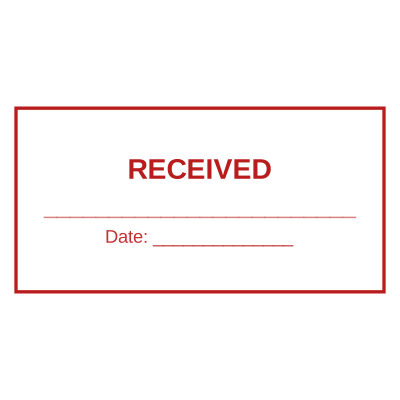
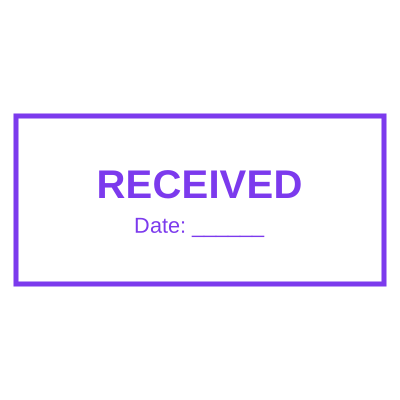
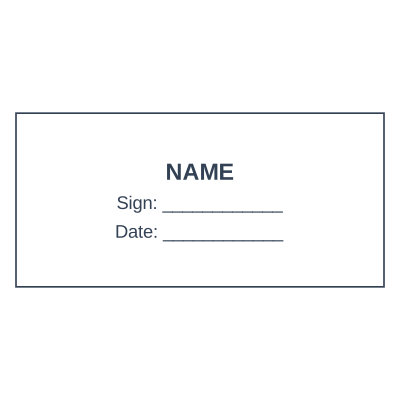
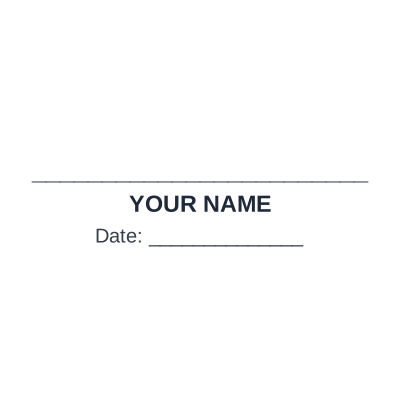
Received stamp with date and signature line
Adding a signature line to a received stamp changes what it records. Without one it says a document arrived at an office. With one it says a specific person acknowledged it, and that is the version that holds up when somebody later asks who had the document and when. The line needs enough height to actually sign in, which is where most designs fail.
Templates you can start from
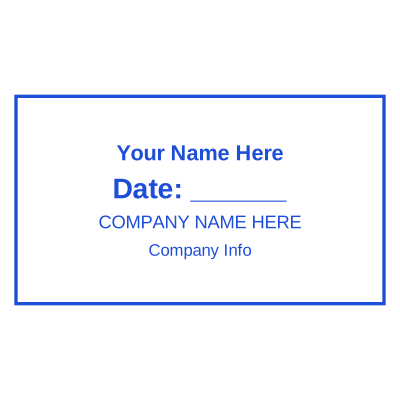
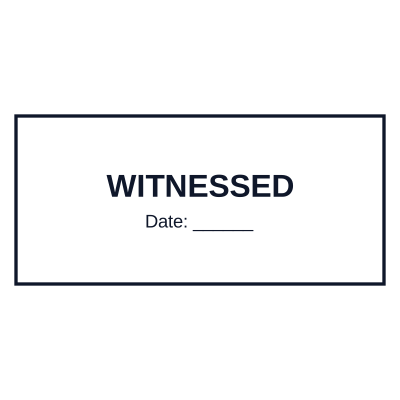
How to make it
- Build the RECEIVED block with its date placeholder.
- Add a ruled line below, at least 8mm tall.
- Label it: SIGNATURE, RECEIVED BY, or the name of the role.
- Check the line is long enough for a real signature, not a tick.
What you get
- A ruled line with room to sign
- A date field that resolves at download
- A RECEIVED BY or SIGNATURE label
- Block proportions that fit a document margin
How tall the signature line has to be
About 8mm to 10mm of clear space. Below that people cannot sign inside it and sign across it instead, over the date and the label, which makes both unreadable and defeats the stamp. It is the single most common fault in a homemade receipt stamp: the block is designed to look compact on screen, then used by somebody with a pen, and the two requirements are not the same.
Questions
Is a printed name needed as well?
It helps. A signature identifies the person to somebody who already knows the signature; a printed name identifies them to everybody else, including an auditor two years later.
Can the signature be part of the stamp?
Technically yes, and it is worth thinking about before doing it. A stamp that signs itself acknowledges receipt without anybody having looked at the document, which is the opposite of what the signature line was for.
Estamplab is a design tool. This page describes common commercial practice rather than giving legal advice, and practice changes. Where a specific document matters, check the requirement with the body receiving it. Only produce a mark your own organisation or your own credentials are entitled to use.